Shulk: Hello World!
https://wii.xenonetwork.moe is hosted on Apache running on Arch Linux in a Nintendo Wii!!!
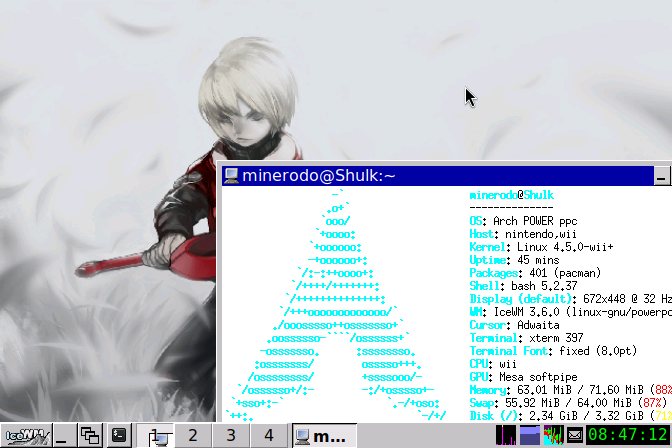
The man, the myth, the legend! The Wii that’s hosting it!!!
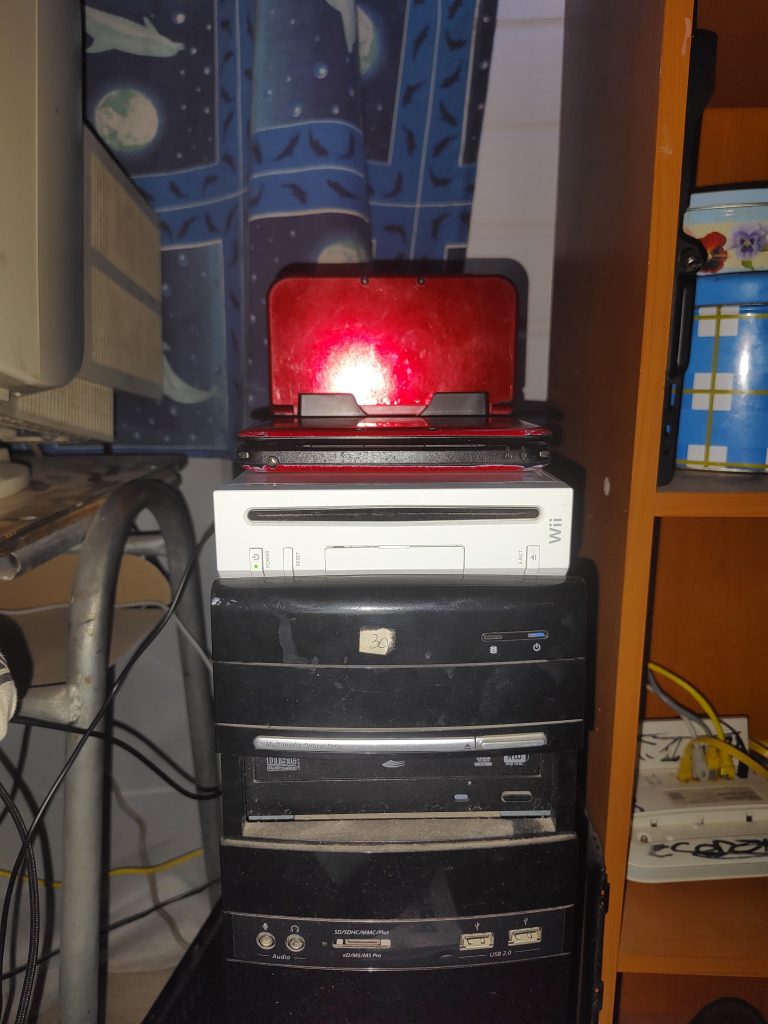
New Nintendo 3DS XL, Nintendo 3DS XL and dust flex B)
Now, you may want to know how I did this. It’s not that hard, really! You just need
- Homebrewed Wii, extra points for a Wii that can install BootMii as boot2 so it boots straight to Linux. Wii Hacks Guide will guide you through the process
- A USB keyboard
- >4 GB SD card
- Access to a PC/VM with any decently modern Linux distro installed
Now on your PC with Linux currently installed
- Download the installer
git clone https://github.com/Wii-Linux/pc-installer - Run the installer
cd pc-installer; sudo ./installer.sh - Select what disk you would like to use by its number listed in the brackets (careful!!!)
- When it asks you if you want to store the root on another device, pick no
- Pick automatic installation
- After the card has been partitioned, the necessary files will be downloaded and installed for you.
- You will need to answer a few configuration questions. Pick yes for the SSHD autostart, I recommend you pick no for the NetworkManager question.
- Profit!
Booting on your Wii
- Insert the SD card into the Wii.
- Enter BootMii.
◉If you were able to install BootMii as boot2, your Wii will automatically enter BootMii.
◉You can also open the menu from the Homebrew Channel (HOME button on a Wii Remote, START button on a GameCube controller) - Wait for gumboot to load the kernel.
◉You can navigate the gumboot menu using the power and reset buttons on the Wii or the D-pad on a GameCube controller, but that isn’t needed for the first boot. - At the Wii Linux boot menu, select ArchPOWER (or wait a few seconds).
- Watch the systemd boot messages and wait for the login prompt.
After Booting
- Change the root password with (don’t forget it!)
passwd root - Add a user so we’re not raw dogging root all the time
useradd username - Give that user a password
passwd username - Connect to the internet (Wi-Fi)
nmtui
◉Then enter activate a connection, select your Wi-Fi network, input the password and setup manual IPs and anything else you might need back in Edit a connection - Connect to the internet(USB Ethernet adapter)
◉Connect your Ethernet cable and runnmtui
◉Then enter edit a connection and setup manual IPs and anything else you might need - Update the system and install sudo, nano and Apache (this may take a while!!)
pacman -Syu sudo nano apache - Edit the sudoers file, so the wheel group can use sudo
nano /etc/sudoers##Uncomment to allow members of group wheel to execute any command
%wheel ALL=(ALL:ALL) ALL - Reboot
systemctl reboot
After Rebooting
- Login via ssh on another computer with the user and IP you just setup
ssh username@*.*.*.* - In /etc/ssh/sshd_config uncomment/modify the line (I know there are better ways to do this, but YOLO!)
PermitRootLogin yes - Reload the SSHD daemon
sudo systemctl reload sshd - Enable the Apache service
sudo systemctl enable --now httpd - Just for good measure, start it too
sudo systemctl start httpd - Now connect to root via SFTP with a file browser of your choice, like WinSCP on Windows or Dolphin on Linux
sftp://root@*.*.*.*/ - Profit! Now put all your HTML and media on /srv/http/
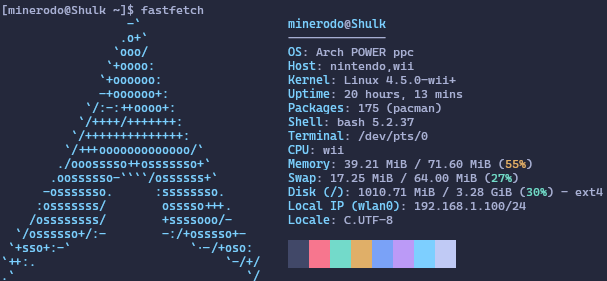
- (Extra!) Install fastfetch so you can flex it B)
sudo pacman -S fastfetch
then run itfastfetch
Credits to https://wiki.wii-linux.org/wiki/Installation_Guide for most of the installation guide
Please comment if I may have missed anything! And don’t forget to update it regularly!
Filed under: Hello World! - @ March 22, 2025 4:45 am
Tags: gormott, helloworld, shulk, wii